
Install guide · Webflow
Add an AI chatbot to Webflow
Add the snippet to your Webflow project's footer code once, publish, and the widget appears on every page.
Add the chat widget in 4 steps
Copy your snippet
In your ZavienGPT dashboard, open Settings → Channels → Chat widget → Installation, and choose Copy code. The snippet already contains your organisation's ID.
Open your site settings
In Webflow, open your site's settings and go to the Custom code tab.
Paste the snippet into the footer code
Paste your snippet into Footer code (the box that adds code before the </body> tag), and save.
Publish your site
Publish to your domain. Custom code only runs on the published site.
One snippet. Live in minutes.
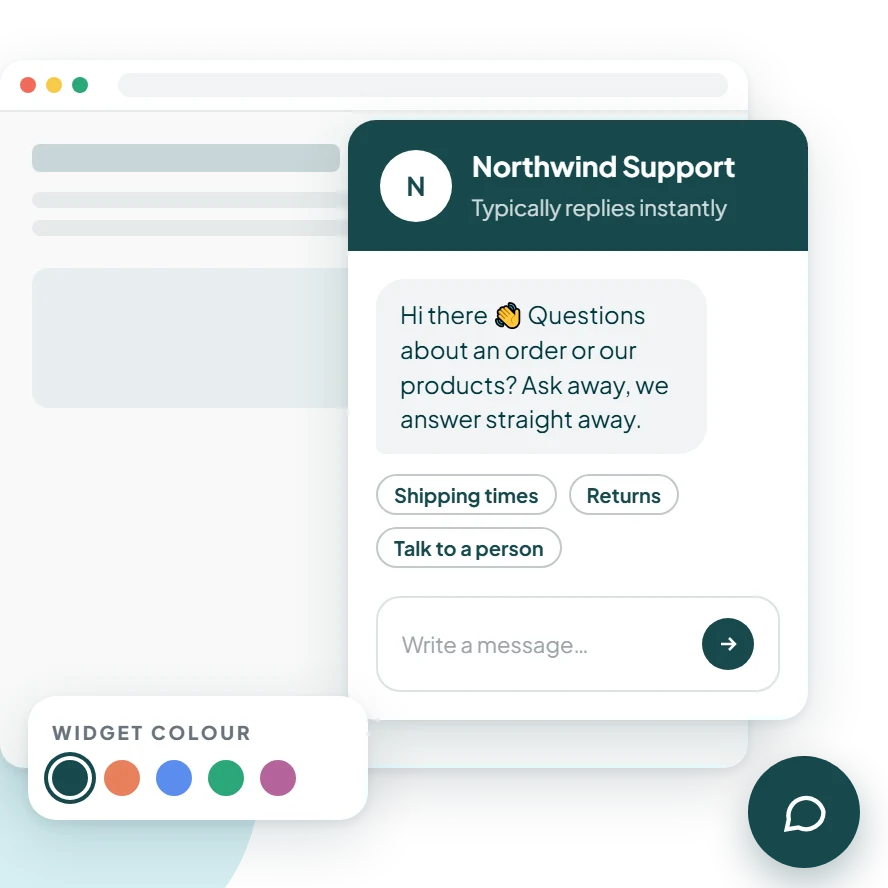
Paste one line before the closing body tag of your site and the chat widget appears on every page. Colours, greeting, office hours and the AI agent are all set from your dashboard, with no more code.
Get your snippet<script
async
src="https://widget.zaviengpt.com/widget.js"
data-organization-id="YOUR_ORGANIZATION_ID"
></script>Check it's working
Open your site in a new window
Visit any page of your live site. The chat launcher appears in the corner within a few seconds.
Send a test message
Ask a question your knowledge base covers. The AI agent answers, and the conversation shows up in your inbox.
Webflow questions, answered.
WordPress
Add the chat widget to every page of your WordPress site with a free header-and-footer plugin, so it stays in place when your theme updates.
Install on WordPressShopify
Add the chat widget to your Shopify theme so shoppers can ask about shipping, returns and sizing on every product page and at checkout's door.
Install on ShopifyWix
Wix lets you add a script to every page from your site's settings. Paste the snippet there once and the widget shows across your site.
Install on Wix